
GWB video tutorials
Want to create a video to share with your students or colleagues on how to create geochemical models using The GWB? This guide is perfect for those looking to get started to share their own experience and knowledge.
How to create your own
There are many ways to create a unique and informative tutorial. Here, we provide a set of simple instructions to help you get started. Expand sections for additional tips.
- Create a lesson plan for a 2-5 minute tutorial video using The GWB. Keep key details and simplify steps so that the audience can follow along easily.
- Choose the video recording, audio recording, and video editing software that you will use to create your tutorial.
- Start by making an introduction for the beginning of your video. Introduce yourself, the video topic, and the application from The GWB package that you will use.
- Use a screen recording software to capture video footage.
- Record the audio to accompany your screen recording.
- Create the script of your audio track in advance.
- You can use the screen recording footage to gauge audio cues as you record your audio track.
- When recording your video, make sure you keep an appropriate pace for the audience to follow along. If you are familiar with the software, it is easy to skip over important details that newer users may be unaware of.
- For a smoother video editing process later, you can remove any white noise or background noise in the audio recording software before exporting the track.

- Combine your screen recording and audio track into one video.
- Import your screen recording footage and audio track into your video editing software for editing.
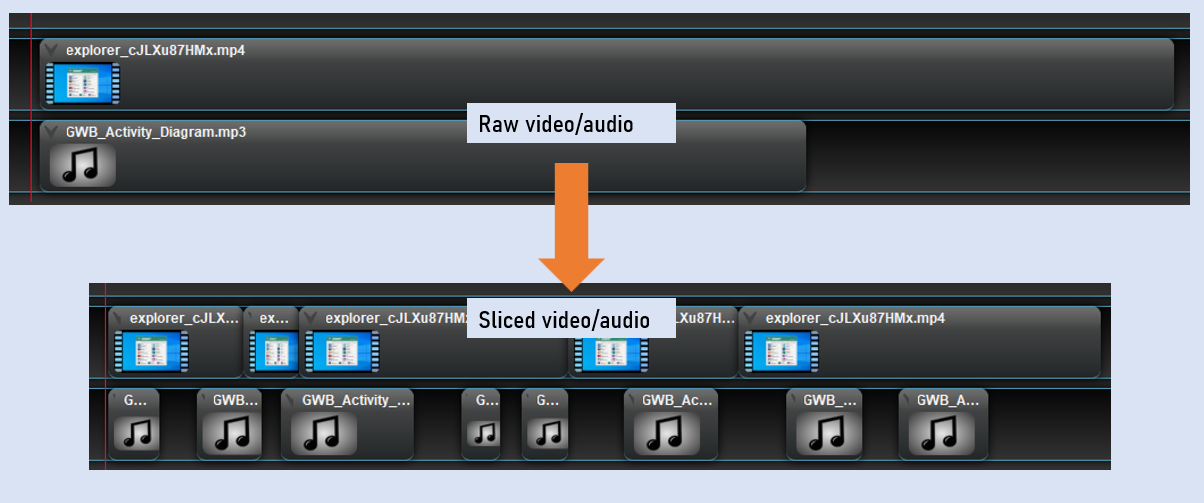
- Begin by breaking up the video and audio into their respective clips.
- Line up all the video clips first. Watch through and use this to place your audio clips.
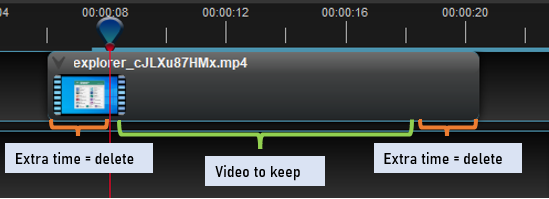
- You can trim “down time” in your video footage so that the audio lines up nicely. One you have identified wthe extra time in your footage, you can remove them in the editing software.
- Censor any personal info in footage (e.g. activation codes, email addresses, etc).
- Add transitions between video clips where necessary.
- Consider including subtitles in your video.
- Listen to the final project and export the final video in the desired media format. Check for final quality issues before sharing.
Looking for examples?
Visit our YouTube channel for video tutorials created by Aqueous Solutions!